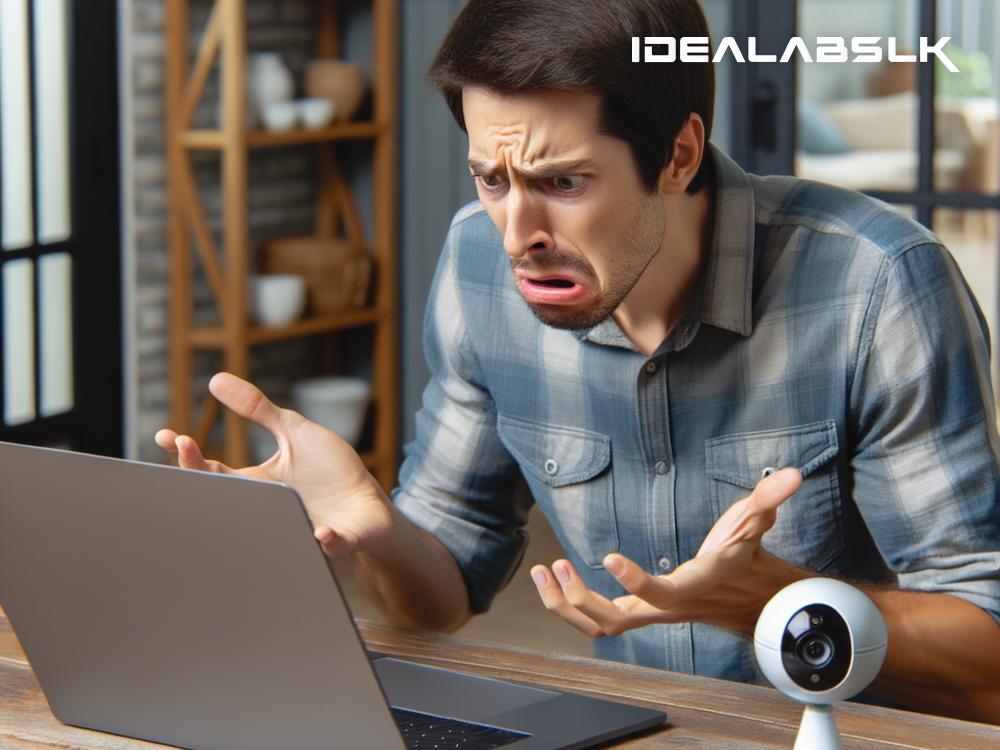
Fixing 'Cannot Connect to Home Security Cameras': A Simple Guide
In an age where the safety and security of our homes are paramount, home security cameras have become indispensable tools. They not only allow us to keep a vigilant eye on our premises but also provide peace of mind. However, it can be incredibly frustrating when you suddenly find yourself unable to connect to your home security cameras. If you're encountering this issue, don't panic. The solution might be simpler than you think. In this article, we'll guide you through some straightforward steps to troubleshoot and fix the ‘Cannot Connect to Home Security Cameras’ problem.
Step 1: Check Your Internet Connection
The first and most obvious step is to check your internet connection. Security cameras rely heavily on a stable Wi-Fi or wired internet connection to function correctly. Try opening a web page on your phone or computer to see if your internet is working. If you find that your internet is down, the problem lies with your ISP (Internet Service Provider), and you may need to contact them to resolve the issue.
Step 2: Restart Your Router and Camera
Sometimes, the good old "turn it off and then on again" method works wonders. Unplug your router and your security camera from the power source, wait for about a minute, and then plug them back in. This simple action can refresh your connections and solve the issue.
Step 3: Check the Camera's Power Supply
Make sure that your security camera is adequately powered. If it's battery-operated, check whether the batteries need replacing. For wired cameras, ensure that the power cables are securely connected and that there’s no power outage in your home.
Step 4: Verify Your Camera's Signal Strength
If your camera connects to the internet via Wi-Fi, its placement relative to your router is crucial. If the camera is too far from the router or if there are thick walls and large objects between them, it can weaken the signal strength, leading to connection issues. Try moving the camera closer to the router or using a Wi-Fi range extender to boost the signal.
Step 5: Update Your Camera's Firmware
Manufacturers often release firmware updates for security cameras to improve performance or fix known issues. Check the manufacturer’s website or the camera’s app to see if there are any updates available for your camera model. Updating the firmware can be the key to resolving connectivity issues.
Step 6: Ensure Correct Login Credentials
It might seem obvious, but double-check to ensure you're using the correct login credentials for your camera's app. Occasionally, typing errors or forgotten password changes can prevent you from connecting to your security cameras.
Step 7: Disable VPN or Firewall Temporarily
If you’re using a VPN (Virtual Private Network) or have a firewall set up on your network, try disabling these temporarily. Sometimes, these security measures can inadvertently block the connection between your camera and your network.
Step 8: Factory Reset Your Camera
If all else fails, consider performing a factory reset on your camera. Be aware, though, this will erase all settings and restore the camera to its original state when it left the factory. You’ll have to set up your camera from scratch, but this can often eliminate persistent connection issues. Consult your camera’s manual for instructions on how to perform a factory reset.
Conclusion
While it's frustrating when you cannot connect to your home security cameras, most issues can be resolved with a bit of troubleshooting. By following the steps outlined above, you’re likely to identify and fix the problem without needing to call in a professional. Remember, regular maintenance, such as checking connections and keeping your camera’s firmware up to date, can prevent many connection issues from arising in the first place. Stay vigilant and keep your home security cameras in tip-top shape to ensure they’re always ready when you need them most.

