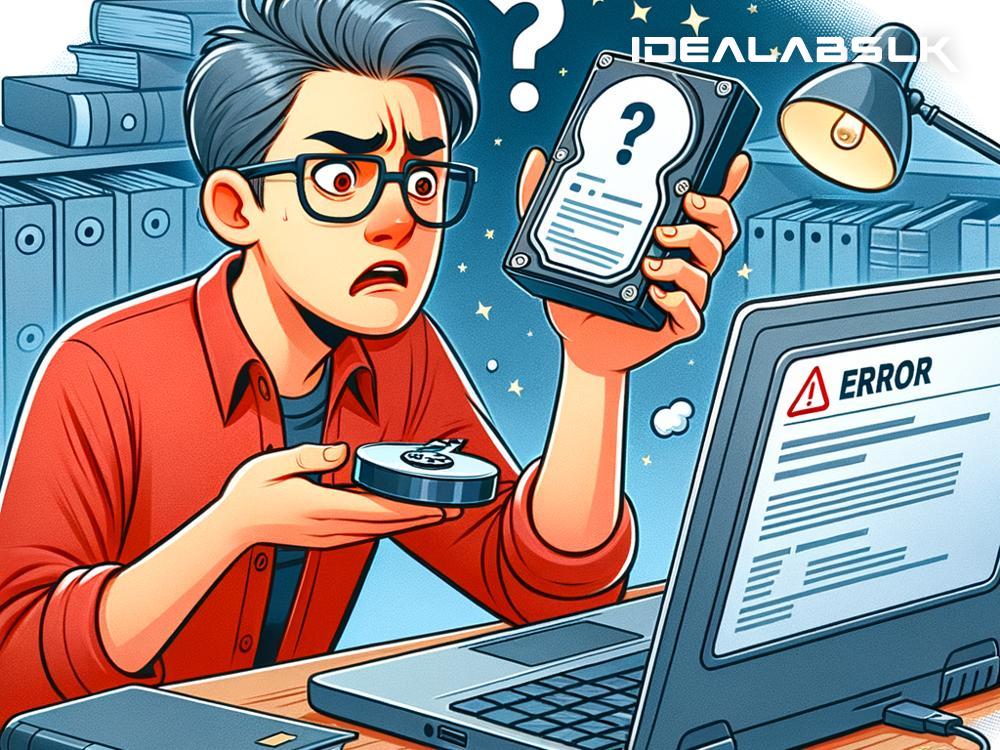
How to Fix an 'External Hard Drive Not Recognized on Windows': A Step-by-Step Guide
Have you ever plugged your external hard drive into your Windows computer, waiting to transfer some important files, only to find that it's not showing up? It's like planning to meet a friend and they don't show up. Frustrating, right? But don't worry, your data is most likely safe, and the issue can often be fixed with some troubleshooting. Here's a simple guide to help you get your external hard drive recognized on Windows.
1. Check the Basics First
Before diving into more advanced solutions, let's not skip the simple checks:
- Try a different USB port: Sometimes, the issue could be with the USB port itself. Plugging your hard drive into another port can magically solve the problem.
- Use a different cable: Cables can be sneaky and get damaged over time. If you have another cable lying around, try using it.
- Connect to another computer: This helps determine if the issue is with the computer or the external hard drive. If it works on another computer, the culprit might be your PC.
2. Power Management for USB Ports
Windows has a feature that turns off USB devices to save power. Sometimes, this can cause your external hard drive not to be recognized. Here's how to check this:
- Right-click on the Start button and select 'Device Manager'.
- Expand the 'Universal Serial Bus controllers' section.
- Right-click on the first 'USB Root Hub' device and select 'Properties'.
- Go to the 'Power Management' tab and uncheck 'Allow the computer to turn off this device to save power'.
- Repeat for all 'USB Root Hub' devices listed.
- Restart your computer.
3. Drive Letter Conflicts
Sometimes, your external hard drive doesn't show up because Windows can't assign a drive letter to it, maybe because the letter is already in use. Here’s what to do:
- Press Windows key + X and select 'Disk Management'.
- Find your external hard drive. It might show up as 'Disk 1', 'Disk 2', etc., without a drive letter.
- Right-click on the volume and select 'Change Drive Letter and Paths…'.
- Click on 'Add' and assign a new drive letter.
- Now, your hard drive should appear in 'This PC'.
4. Update or Reinstall Device Drivers
Drivers are like translators between your external hard drive and your Windows computer. If they're out of date or corrupted, communication can break down. To update them:
- Open 'Device Manager' and expand 'Disk drives'.
- Find your external hard drive, right-click on it, and select 'Update driver'.
- Select 'Search automatically for updated driver software'. Windows will then look for and install any available updates.
If that doesn’t work, you can try uninstalling and then reinstalling the drivers:
- In 'Device Manager', right-click on your external hard drive and select 'Uninstall device'.
- After uninstallation, disconnect your hard drive.
- Restart your computer. Windows will automatically reinstall the drivers.
- Reconnect your hard drive.
5. Create a New Volume
If your external hard drive is brand new or was previously used on a Mac, it might not be formatted correctly for Windows. Here’s how to format it (note: this will erase all data on the drive):
- Open 'Disk Management'.
- Find your external hard drive. It might be listed as 'Unallocated'.
- Right-click on it and select 'New Simple Volume…'.
- Follow the on-screen instructions to format it.
- Choose 'NTFS' as the file system for compatibility with Windows.
Things to Remember
- Data Loss Warning: Formatting your external hard drive will erase all the data. Make sure you have backups if you proceed with reformatting.
- Try not to interrupt the troubleshooting process once you start, especially during formatting, as this could cause more issues.
With these steps, most issues with external hard drives not being recognized on Windows should be resolved. Always remember to safely eject your external hard drive before unplugging it to avoid data corruption. And, of course, keep regular backups of your important files to avoid unexpected losses. Happy computing!

