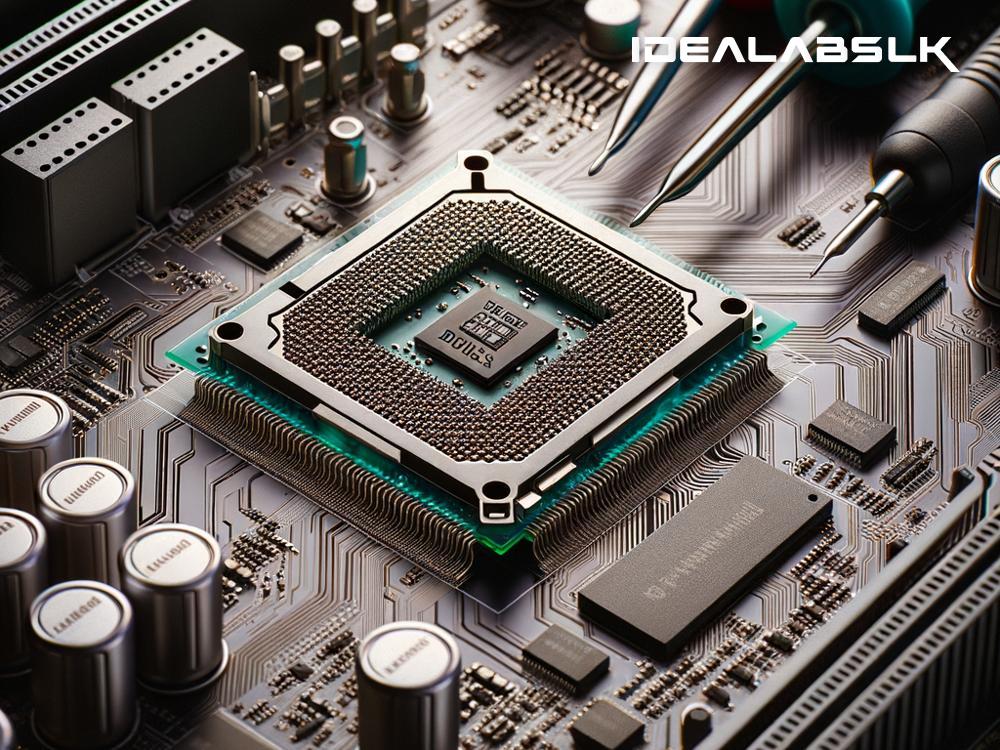
Fixing 'PC Won't Boot After BIOS Update': A Step-by-Step Guide
Updating your PC's BIOS (Basic Input/Output System) can sometimes feel like you're taking a leap of faith. It's a critical component that controls the communication between your computer's firmware and its hardware. But what happens when you take the plunge, update your BIOS, and then... your PC refuses to boot? Panic sets in. Before you start mourning your PC, let’s explore some relatively simple fixes that might just bring your computer back from the brink.
Understand the Problem
First off, breathe. A PC that won't boot after a BIOS update isn't uncommon. The BIOS is like the software's backbone, and updating it can sometimes cause compatibility issues or the update process might not complete successfully. But why does this happen? Two main reasons include power disruption during the update process or the update being incorrect or corrupted.
Step 1: Don't Panic
Yes, it's worth mentioning twice. Panicking won't help, but following these steps just might.
Step 2: Confirm the Power
Ensure your PC is indeed powering on. When you hit the power button, listen for fan noise, look for power lights, or any sign the computer is trying to come to life. If there's no sign, you might be looking at a power supply issue, not a BIOS problem.
Step 3: Attempt a Power Cycle
Sometimes, the solution is as simple as turning it off and on again — with a little twist. Fully shut down your PC, unplug the power cord, and then hold down the power button for about 20-30 seconds. This can help clear the system's memory and reset any stuck processes. Plug everything back in and see if your PC boots.
Step 4: Clear the CMOS
The CMOS (Complementary Metal-Oxide-Semiconductor) holds the BIOS settings. Clearing it can sometimes resolve boot issues after a BIOS update. How you clear the CMOS will depend on your motherboard.
- For some, it’s as simple as flipping a switch on the back of the PC.
- For others, you’ll need to open up the case and remove the small battery on the motherboard for a few seconds, then reinsert it. This acts as a 'reset' button for your BIOS settings.
Step 5: Try Booting to BIOS
If your PC shows some signs of life, try booting directly into the BIOS. Repeatedly tap the key that enters the BIOS setup as the computer boots up. This key is often displayed on the screen during the boot process and is commonly Del, F2, F10, or F12. If you can get into the BIOS, you might be able to select a default settings option that could resolve the boot issue.
Step 6: Reinstall or Roll Back the BIOS
If you've made it into the BIOS setup, look for an option to reinstall the BIOS or revert to a previous version. This might require using another computer to download the BIOS file onto a USB drive. Insert the drive into the non-booting PC and use the tool within the BIOS to update or downgrade as needed.
Step 7: Check for Loose Hardware
While inside your PC, verify that no components became loose during the BIOS update process. It's rare, but the vibration from fans spinning faster than usual can sometimes cause this. Double-check your RAM, video card, and all cable connections.
Step 8: Seek Professional Help
If you've tried everything and your PC still won't boot, it might be time to seek a professional's help. There could be a deeper issue at play that requires specialized skills and tools to diagnose and fix.
Conclusion
Updating your BIOS can seem daunting, especially if it leads to issues like your PC not booting. However, by following the steps outlined above, you stand a good chance of resolving the problem yourself. Always remember to double-check your BIOS version and ensure it’s compatible with your motherboard before updating. Prevention is, after all, better than cure. And in the world of computing, staying informed and cautious is always your best defense.

