How to Create a Logo: A Step-by-Step Guide for Beginners
Creating a logo might seem like a daunting task, especially if you’re a beginner with little to no design experience. However, with the right approach, it’s entirely possible to design a memorable and effective logo for your brand. A great logo helps your brand stand out, makes a strong first impression, and is the foundation of your brand identity. Here’s a step-by-step guide to help you through the process of creating your very own logo!
Step 1: Understand Your Brand
The first step in creating a logo is understanding what your brand stands for. Your logo should communicate your brand's personality, values, and essence. Ask yourself questions like: What makes my brand unique? Who is my target audience? What feel or emotion do I want my brand to evoke? Your answers will guide the design process, ensuring your logo aligns with your brand identity.
Step 2: Find Design Inspiration
Feeling stuck? Look for inspiration! Inspiration can be found everywhere - nature, art, architecture, and, of course, the internet. Websites like Pinterest, Behance, and Dribbble are great places to start. Create a mood board by compiling images, colors, and designs that resonate with your brand. This will help you visualize potential design directions and thematic elements for your logo.
Step 3: Learn the Basics of Effective Logo Design
Before you dive into designing, it's crucial to understand some basic principles of effective logo design:
-
Simplicity: The best logos are often simple, making them easy to recognize and remember.
-
Memorability: A great logo should be distinctive and memorable.
-
Versatility: Your logo should look good in various sizes and on different platforms.
-
Appropriateness: The style of your logo should match your brand’s personality and appeal to your target audience.
Step 4: Choose Your Design Style
Decide on the design style that best represents your brand. Options include:
-
Classic: Timeless and conservative, evoking reliability.
-
Retro or Vintage: Nostalgic, conveying tradition or authenticity.
-
Modern and Minimalist: Sleek, clean, and simple for a contemporary feel.
-
Fun and Quirky: Lighthearted and unique to showcase creativity or whimsy.
-
Handmade and Rustic: Organic and earthy, ideal for brands with a natural or artisanal focus.
Step 5: Pick Your Colors Wisely
Colors play a crucial role in logo design, as different colors can evoke different feelings and associations. For example, blue often conveys trustworthiness, while green is associated with growth or nature. Choose colors that reinforce the mood or tone you want your brand to project. Remember to keep it simple, aiming for no more than two to three colors.
Step 6: Choose Your Typography
Your choice of typography should complement your logo’s visual elements and overall design style. There are various font types to consider:
-
Serif: Traditional and reliable.
-
Sans Serif: Modern and clean.
-
Script: Elegant or casual, depending on the style.
-
Display: Bold and impactful, good for making a statement.
Make sure the font is legible, especially when scaled down.
Step 7: Bring Your Logo to Life
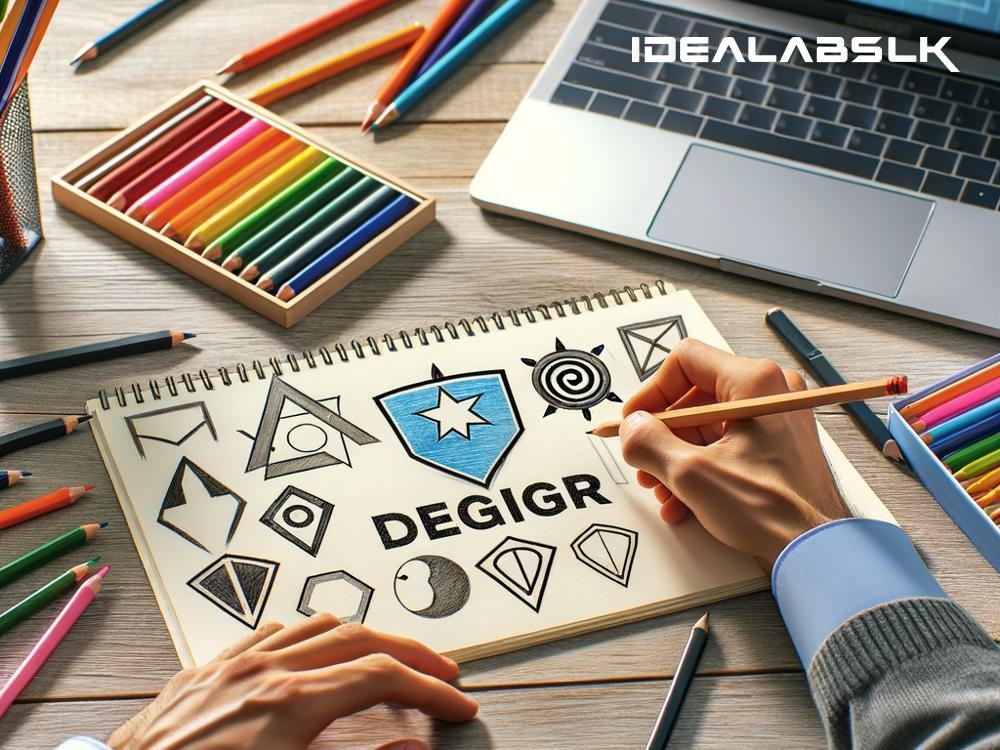
Now comes the fun part: designing your logo! You can use sketching or a digital tool like Adobe Illustrator, Canva, or LogoMakr. If drawing isn’t your strong suit, consider using logo maker tools that provide templates and easy drag-and-drop interfaces. Start by experimenting with shapes, icons, and typography based on your earlier research and inspiration.
Step 8: Seek Feedback and Revise
Once you’ve designed a few logo options, it’s time to get feedback. Show your designs to friends, family, or even potential customers. Ask for honest feedback on readability, appeal, and how well the logo communicates your brand identity. Use this feedback to refine and improve your design.
Step 9: Finalize and Export
After revising your logo based on feedback, it’s time to finalize it. Make sure you have different variations for different uses (e.g., black and white, different sizes), and save your final design in various formats (PNG, JPG, PDF) to ensure versatility across different mediums.
Step 10: Integrate Your Logo into Your Brand
Congratulations! You’ve created your logo. Now, integrate it into all your branding materials - business cards, website, social media, packaging, etc., to start building brand recognition.
Creating a logo is a journey of discovering your brand's identity and how best to express it visually. Remember, a great logo is one that resonates with your target audience and stands the test of time, so take your time going through these steps to design a logo that truly represents your brand.

