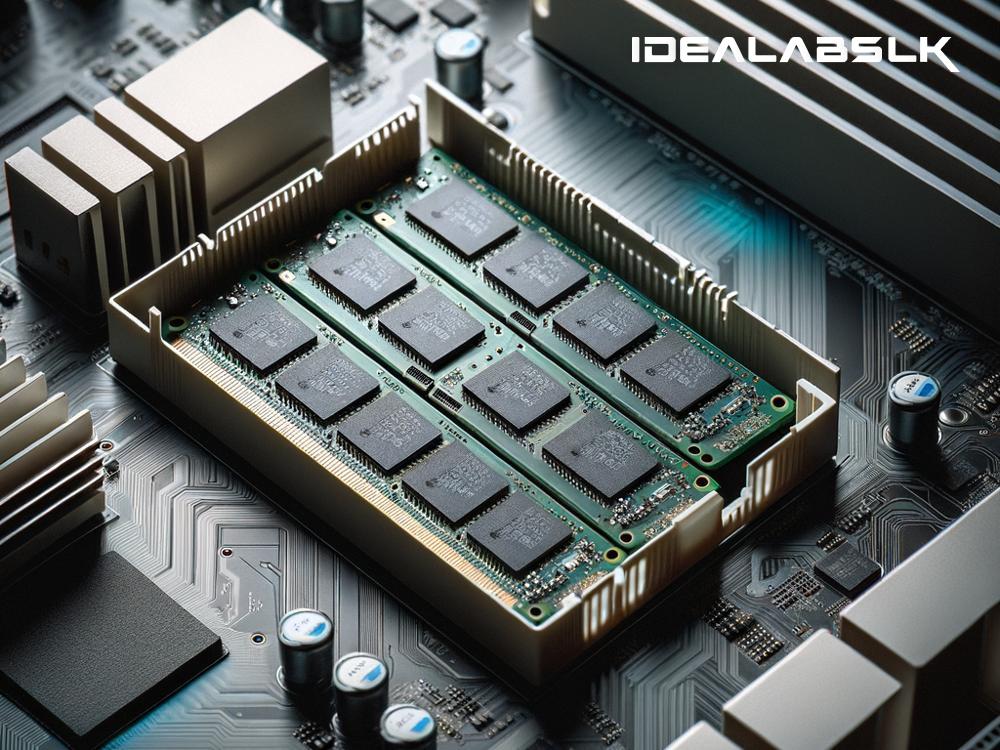
How to Fix a PC That Won't Boot After a RAM Upgrade
Upgrading the RAM (Random Access Memory) on your PC should be a straightforward process. More memory often means faster performance, especially when juggling multiple tasks. However, sometimes, after snapping in new RAM sticks, you hit the power button only to find your computer refusing to boot. It's a worrying situation, but don't panic! Here's a step-by-step guide to troubleshoot and resolve this issue.
Step 1: Double-check the Basics
First things first, ensure that the RAM is compatible with your motherboard. Not all RAM works with all motherboards. Check the type (DDR3, DDR4, etc.), speed, and voltage requirements. Most of this information can be found in your motherboard's manual or on the manufacturer's website.
Step 2: Reseat the RAM
Improper installation is a common culprit. Power down your computer and unplug it from the power source. Open the case and gently remove the RAM sticks. Then, re-insert them firmly into the slots, making sure they're properly seated. You should hear a click when they're correctly installed. Try booting up again.
Step 3: Clean the RAM Slots
Dust or debris in the RAM slots can prevent a good connection. After removing the RAM, use a can of compressed air to blow out the slots. Be gentle and ensure you're not blowing the dust deeper into the system. Reinsert the RAM and test again.
Step 4: Test One Stick at a Time
If you've installed more than one RAM stick, one of them could be faulty. Remove all but one stick and try to boot. If it doesn't work, switch it with another stick and try again. This process can help identify a defective RAM module.
Step 5: Check for Bent Pins
Inspect the RAM slots on the motherboard for any bent pins. Carefully realign any that are bent using a small tool like a toothpick, but be very gentle to avoid breakage. This is a rare issue but worth checking.
Step 6: Update Your BIOS
Sometimes, a BIOS (Basic Input/Output System) update is required for your motherboard to recognize new RAM. Check your motherboard manufacturer's website for an update. Be cautious with BIOS updates; follow the manufacturer's instructions carefully as an incorrect update can harm your motherboard.
Step 7: Reset the CMOS
The CMOS (Complementary Metal-Oxide Semiconductor) stores BIOS settings. Clearing it can solve boot issues. Turn off and unplug your PC, then find the CMOS battery on the motherboard (it looks like a silver coin). Remove it for about 5 minutes, then reinsert it. This reset can make your motherboard recheck the RAM.
Step 8: Consult the Motherboard's QVL
Many motherboards have a QVL (Qualified Vendor List) for RAM. This list shows the tested and recommended RAM for your motherboard. If your RAM isn't on this list, it doesn't mean it won't work, but RAM on the list is guaranteed to be compatible.
Step 9: Try Different Slots
Motherboards might require RAM to be installed in specific slots, especially if you're not filling all the slots with RAM. Check your motherboard's manual for guidance on which slots to use for optimal performance and detection.
Step 10: Seek Professional Help
If you've tried all the above steps and your PC still won't boot, it might be time to consult with a professional. There could be a deeper issue at hand, such as a motherboard fault.
Conclusion
RAM upgrades should boost your PC's performance, not lead to boot issues. By methodically going through these troubleshooting steps, you can often resolve the problem on your own. Compatibility checks, proper installation, cleaning, and BIOS updates are all key factors in a successful upgrade. Remember, if all else fails, seeking help from a professional is your best next step. With these tips, you're well on your way to enjoying your faster, more capable PC. Happy computing!

