How to Solve 'Cannot Detect SSD' in BIOS: A Simple Guide
Whether you're upgrading your system with a shiny new solid-state drive (SSD) or troubleshooting an existing setup, encountering the frustrating "Cannot Detect SSD" error in your BIOS can throw a wrench in your plans. But fear not! Solving this issue might be simpler than you think. In this guide, we'll walk you through a series of straightforward steps to get your SSD recognized by your system's BIOS without requiring you to be a tech guru.
Step 1: Check Your SSD Connection
The first thing you want to do is ensure that your SSD is properly connected to your motherboard. A loose or incorrect connection is one of the most common reasons why your BIOS might not detect your SSD.
- Power Off Your Computer: Begin by turning off your computer and unplugging it from the power outlet to ensure your safety and avoid any electrical damage.
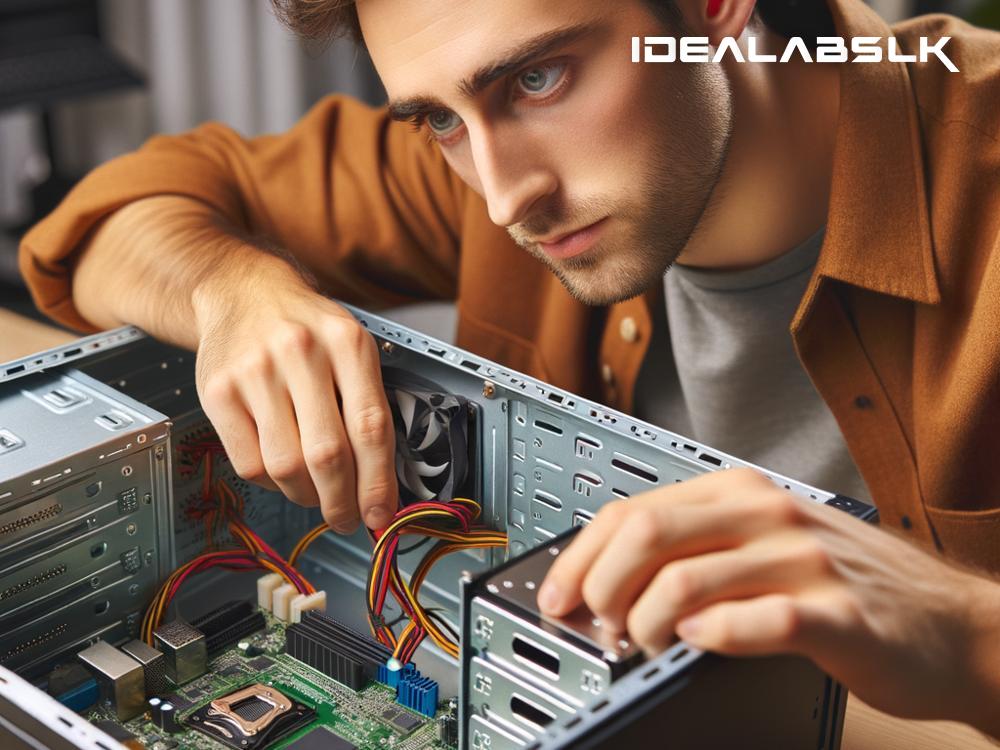
- Open Your Computer Case: Depending on your PC, you might need a screwdriver. Open the case to access the motherboard and SSD.
- Check the Data and Power Cables: Verify that the SATA data cable connecting your SSD to the motherboard and the power cable from the PSU (Power Supply Unit) to your SSD are both firmly connected. Try using different cables if you have them, as faulty cables can often be the culprit.
Step 2: Verify the SSD Is Properly Seated in the Slot
If you're using an M.2 or NVMe SSD, it's crucial to make sure it's properly seated in the M.2 slot on your motherboard.
- Inspect the M.2 Slot: Remove and re-insert the SSD into the M.2 slot, ensuring it's properly aligned and seated securely. There should be a tiny screw that holds the SSD in place—make sure it's screwed in snugly but not too tight.
Step 3: Check Your BIOS Settings
Sometimes, the issue can be related to your BIOS settings. Accessing your BIOS might sound intimidating if you’ve never done it before, but it’s actually quite straightforward.
- Accessing the BIOS: Restart your computer and press the key required to enter the BIOS setup. This key varies by manufacturer but is often Del, F2, or Esc. You'll usually see a message during the boot process that says something like "Press [Key] to enter Setup."
- BIOS Mode: If your motherboard supports both Legacy and UEFI modes, ensure it's set to the mode that supports your SSD. Modern SSDs and systems generally work best with UEFI.
- SATA Mode: Check the SATA mode in the BIOS. It’s usually recommended to have it set to AHCI mode when using an SSD.
Step 4: Update Your BIOS
An outdated BIOS can sometimes fail to recognize newer SSDs. Updating your BIOS can resolve this, but it's important to proceed with caution, as incorrect BIOS updates can harm your system.
- Find Your Current BIOS Version: Note down the version number from within your BIOS settings.
- Visit the Motherboard Manufacturer's Website: Look for a BIOS update section under the support or download pages related to your motherboard model.
- Download and Update: Follow the manufacturer's instructions carefully to update your BIOS. Often, this involves placing the updated BIOS file on a USB drive and selecting it from within the BIOS update section.
Step 5: Try the SSD on Another Computer
If you've tried all the above steps and your SSD is still not detected, testing it on another computer can help determine if the SSD itself might be faulty.
Note on SSD Compatibility
It's worth mentioning that some older motherboards may not fully support newer SSDs due to firmware or hardware limitations. If you suspect this might be your situation, consult your motherboard's documentation or reach out to the manufacturer for clarity.
Wrapping Up
"Cannot Detect SSD" in BIOS can be a puzzling issue, but by methodically following these steps, you're well on your way to resolving it. Remember, start with the easiest solutions like checking connections and cables, then move on to more advanced troubleshooting like BIOS settings and updates. If all else fails, don’t hesitate to seek professional help.
Encountering tech hiccups is part of the journey in the world of computing, but with a calm approach and a bit of patience, solving them can be quite rewarding. Good luck!

